So, I've been super busy all day so I had to come up with something for "Whatever I Want Wednesday" real quick. The first thing I thought of was telling you about some new products I have been trying and what I think about them. So here we go!
Clear Shampoo and Conditioner: Just bought this a few days ago. I haven't tried the shampoo yet but the conditioner made my hair feel a lot better. My hair has been super damaged lately and the whole "tree" thing this product talks about in the commercial (you know, the one with Heidi Klum).
Age Rewind Foundation: Saw this on Elle Fowler's vlog on youtube and wanted to try it since I'm a self diagnosed Rosacea sufferer (I swear I have it). It covers pretty well but I can still see red at the end of the day or after work. Anyone have any ideas of what I should get?
John Freida repair shampoo: Like it a whole lot. I used it once and loved it! Plus, it smells really good!
Sorry this one was kind of lame! I'm leaving for North Dakota tomorrow and I'm completely unprepared. Yikes! Talk to you all soon! Bye Bye Bye!

Fashion. Beauty. Crafts. Me.
Wednesday, June 6, 2012
Tuesday, June 5, 2012
Beauty Tutorial Tuesday: 3 Ways to Style Your Hair with a Straightener
Hola! So, for my first Beauty Tutorial Tuesday I'm going to be showing you all how to style your hair 3 different ways just by using your straightener. Crazy, right?! It saves you a crap load of money because you only need one tool to do it all! So let's begin, shall we?
 |
| For all of these styles, I'm using my straightener that's about 1 inch wide that I got from Target. I also sprayed my hair with my John Freida heat protector and a style hold spray also from John Freida. The hairspray I use is from Aussie. |
 |
| The first style is just a variation on straightening it that kind of switches things up from your normal straightened hair. Separate your hair into three sections: From you ear down, From your ear to your temples and the top part (aka the rest of your hair). Straighten the bottom two sections and flip the ends in like you normally would. Make sure your are combing or brushing your hair before you straighten each strand to make sure there are no tangles! Tie the sections back with a hair tie loosely so it's out of the way but with no kinks. In the top section, flip your bangs (or hair that falls infront of your ears) out. Same with the hair on the opposite side. Flip the rest of the top section in, untie the rest of your hair, comb/brush one last time and hairspray! |
 |
| Here's the finished product! |
 |
| Next style is a wavy style. This time, section your hair into two sections: From the temples down and the temples up. Take your first strand about 1-2 inches wide and hold the straightener curving the the straightener up and over. Hold for a few seconds and then reposition the straightener at the bottom of where the kink is and curve the straightener down and out. Hold and continue down the rest of the strand until the bottom and do that for each strand. Tie the bottom part back and do the same for the top part. Spray with hairspray and tousle your hair like you were scrunching it to make it a little more wild and messy looking. |
 |
| Finished product! |
 |
| The third and final look is soft curls (started with the separation into 3 like the straightened hairstyle). Start by holding the straightener upright and twirl the bottom of a 1-2 inch wide strand away from your face. Hold for a few sections (less than you would think you would have to). Then reposition the strand further up the strand but overlapping a tiny bit with the last curl. Twirl the same way you did the last and hold. Do the same for the rest of the strand and the rest of your hair. Be sure to twirl the straightener away from your face on both sides! When you're done curling, grab a wide-toothed comb (or just use your fingers) to comb out your hair. Only do it a few times or else your hair might get puffy! Hairspray and you're done! |
 |
| Finished look! |
That's all for now! Try these out and let me know how it went! Bye Bye Bye!
Monday, June 4, 2012
Look What I Made Monday - Razor Back Tank top
Hey y'all! Day one of me trying to better with all of this blogging stuff! Today on our first "Look What I Made Monday," I'm going to show you how to make a razor back tank top or bathing suit coverup out of an old t-shirt. Let's do this!
 |
| Alright, First thing you need to do is find an old t-shirt you don't really wear. All you need for this is a shirt and scissors. I honestly have no idea where this shirt came from, why we have it, whose shirt it is and why Melissa had a winter wonderland, but I'm cutting it up anyway! |
 |
| Start off by cutting off the sleeves. You wanna cut it a little lower than where the bottom seam of the sleeve and the rest of the shirt meet. Do something I didn't do and put it on and make notes of how low you want to cut everything before you start to make it easier on yourself. Another tip is to make sure you make the front wide enough when you cut. You want your boobs to be covered after all, right? (Unless you don't then... well... cut away!) |
 |
| Next, cut off the collar of the shirt and then some in the front. I stopped mine right at the start of where the graphic begins on the shirt. |
 |
| Flip it over and cut about 2-3 inches further in the back than the front so you have room to tie it in the right spot. |
 |
| Flip the shirt inside-out and find a scrap from the rest of the shirt that's long enough to tie it around the back. Tie the piece at the farthest point down the straps you can to make the back more... back-less. Make sure you double-knot it and cut off any excess you don't need from the tie. If you want you can also use a ribbon at this point and tie it into a bow on the outside! Whatever you wanna do! |
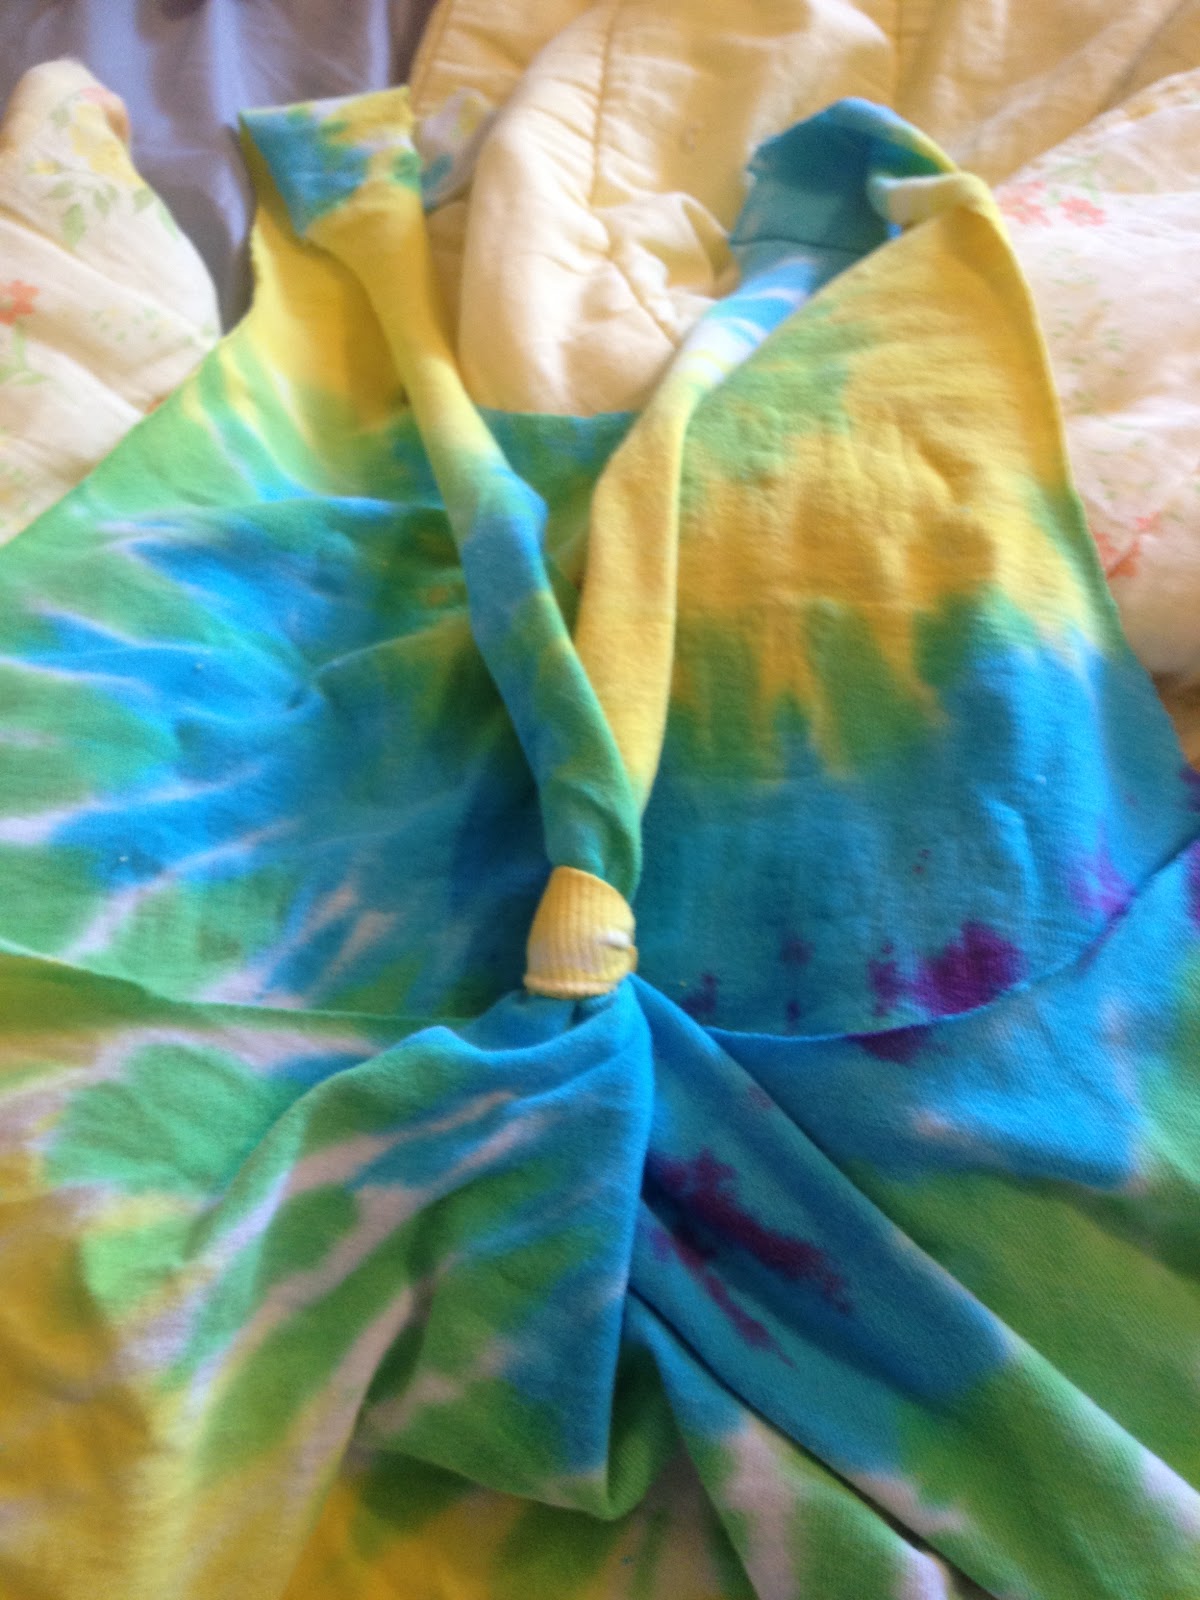 |
| Turn the shirt back right side out and wah-lah! (I don't know if that's how you spell that. You get the point). |


Wednesday, May 30, 2012
Update numero dos!
Okay people. I know. I've been slacking. But I've been super busy with moving out and moving back home and going back to work and getting my wisdom teeth out that I haven't found the time and money to do all this. But I'm gonna try and come back on Monday once I'm healed from this "surgery." Anyway, I think I've figured out how I'm finally going to do all of this. Here's what I'm thinking for the weekly line-up:
Monday - "Look What I Made Monday" - I make something crafty.
Tuesday - "Beauty Tutorial Tuesday" - I show you either a makeup or hair tutorial.
Wednesday - "Whatever I Freaking Want Wednesday" - Free day for something that doesn't fit in the category.
Thursday - "Thrifty Thursday" - I show you a secret trick or product that I like that's cheap.
Friday - "Fashion Faux Pas Friday" - You get to hear me rant about something trending or something that I have seen that I hate.
These may or may not end up changing but I am a fan of these! I'm going to try to post more things for those of you who read this. Or stumble upon it one day. Or follow me on pinterest, twitter or are facebook friends with me. That's all I have to say! If you want to see anything in particular for me to do, let me know! Bye Bye Bye!
Kate
Tuesday, April 24, 2012
So just an update for everyone! First off, I shot a video of the stuff I got from Spree finally. Only issue is I have no idea how to upload it. So, once I figure it out, it'll be up and ready to go! Secondly, (is that even a word???), I am going to TRY (we'll see if i actually do it) to start uploading stuff everyday day Mon-Fri with a different theme. I'm in the works so far with what each day will be but I know Mondays will probably "Man, look what I made! Monday" and Fridays will be "Fashion Faux Pau Friday" ... I have no idea if I spelled that right. But you get the picture. One of the other things I wanna do is the a Challenge day. That'll be like someone tells me to do something and I try and do it. You know. Like a challenge. Hahahaha. But the first few I do are gonna be the challenges from Beauty Blogger Boot Camp with Elle and Blair Fowler. You should watch it! Some people hate it but I like it! It's on youtube. But each week the contestants have a challenge so I'm gonna do them. I think that'll be on Tuesday's. And I'll call it... "Challenge Accepted! Tuesday." I like that. Get some How I Met Your Mother going in that one. I'm not sure what to do on Wednesday or Thursday so if anyone has any ideas let me know! That's all for now! Bye bye bye!
Tuesday, April 17, 2012
Nautical Nails
Hey Hey Hey! SO I saw these nails on Pinterest and thought I'd give it a go and see if I could recreate this with what I have in my room. It worked so I'm gonna teach y'all how to get some nautical type nails like these!
 |
| based off of nails by lifeinthepreppylane. |
 | |||||
|
 |
| Tah Dah! The finishing product! |
Tuesday, March 27, 2012
What to do with some shirts you hate!
Hey Hey Hey! Sorry I've been gone for so long. I've had so much to do and I'm finally catching up with everything now since Spring Break and all. I'm going through some layout changes on my page too. I also have 3 posts for this week probably... My thrift store haul will be later this week cause I also wanna talk about my new hat. But my roommate forgot my hat in her friend's car. So, hopefully that comes soon since I said I was going to do that. BUT I did do two DIY tutorials! Yippy! I was bored/procrastinating cleaning my room (like I am right now, yikes!) so what I did was a scarf out of an old crappy shirt and a cropped shirt out of this stupid tank top. Let's do this! (also sorry for the crappy quality photos. I had to take them with my phone)
Tank Top to Cropped Top

Now, you might be thinking the same way as me and think "hmm... I wonder if I can use the rest of the shirt for something else!"
I put it on and...well... I suggest not wearing that...Unless you plan on looking like Ciara in the "Goodies" video...
Tank Top to Cropped Top
 | |
T-shirt to Scarf
|

- Omg. I hate this shirt. I used to love it and then it shrunk! I was pissed. This is from Forever 21. The tutorial of this I got off of was "P.S. I Made This."
- Okay, so first thing you do is cut horizontally across the shirt. The more fabric you cut off, the more fabric will be in your scarf. Also, I don't show this, but I did this later in the process cause I thought it would look better: Cut the bottom hem off your shirt. It'll make the strands thinner.
- Cut vertical, small strips along the entire bottom of the fabric all the way around. the longer and thinner, the more strands.
- Pull the strands too make them longer.
- You can double it like I did here, or just leave it as is and wear it!
Now, you might be thinking the same way as me and think "hmm... I wonder if I can use the rest of the shirt for something else!"
 |
| Exhibit A |
 |
| Exhibit B (Courtesy of blingcheese.com) (bling cheese?! I won't ask) |
Subscribe to:
Posts (Atom)